This week we needed to find a piece by artist Syd Mead and take one element of that piece and break it down into it's basic geometry in order to study light and shadow.
Mead's Original Concept piece:
My Piece on the selection made from Mead's Piece:
Thursday, August 30, 2018
Monday, August 27, 2018
First 3D Art Project
3D Week 001 Assignment (UE4 Simple Box Level)
So, this week I'm tasked with creating a simple cube in Maya and then importing it into Unity to create a scene. Here's my breakdown:
First off, I grabbed my mannequin off of Unity to import into Maya for scale. This guy's pretty huge and since scale is an important factor between programs, I needed to make sure I scaled my assets properly at the start of the project. This Mannequin is about 6 feet tall, so I scaled my block to about a third of a foot.
Thanks to proper scaling, I was able to make a quick cube with beveled edges. It's a 10X10X10 unit cube with beveled edges at a subdivision of 3.
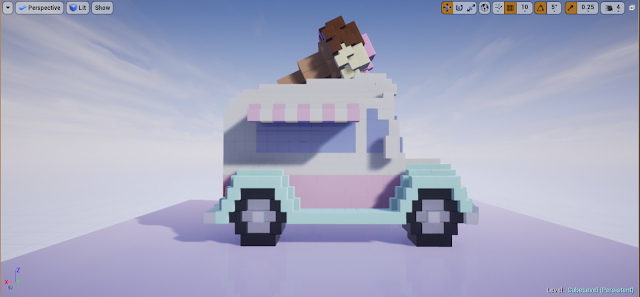
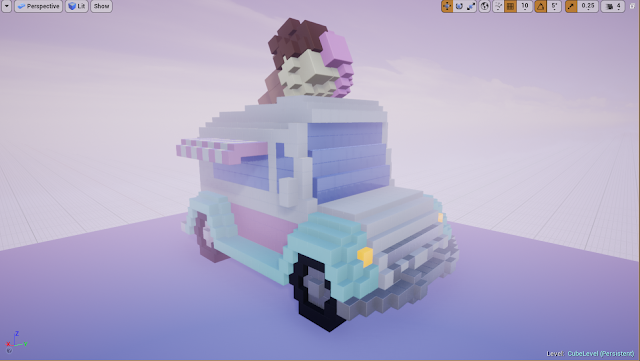
Once I had my cube, I was able to then open up Unreal and import the asset in. I created a new level and saved my project in case of any future crashes. I decided I wanted to make an Ice Cream Truck with my cubes. I figured to tackle this project the way I would modeling in Maya, so, I built one half of the truck first.
After completing one side of the model, I then grouped all the poly for the one side and so translated the group to create a new copy of the group. Then I went ahead and Transformed the group to mirror across the Y-axis so I would have the left side of the truck.
I built a quick and simple model of an ice cream cone to put on top of my truck. I built it to the side of my main model and then rotated and translated it into place.
I then went ahead and created a quick procedural material. I created instances from this material and varied them to achieve the colors I wanted to use. I then went about selecting my cubes and assigning materials to them.
After Changing up the colors in the instances, I went back in and detailed them a bit more to have the texture I wanted each one to have.
Side Shot:
Back shot:
I went in after the materials were done and added a bit of fog to give a candy-cotton vibe. I tinted it a peach-pink.
AFter messing around with the fog, I then went and added a couple light sources to add dynamics to the scene.
Finally, I decided to revisit the ice cream cone and added some emission to the ice cream to make it glow. Final Front angle:
Final Back Shot:
Final Side Shot:
Top-down:
Thursday, August 23, 2018
Subscribe to:
Comments (Atom)


